Picture

The Cabinet Studio (Canada) Inc.
  • About
    • YOUR DESIGNERS
    • CAMBRIA DESIGNS
    • FAQ
    • CROHN'S & COLITIS CANADA 2023
  • ECO-LUXE KITCHENS
    • WOOD CABINETRY
    • METAL CABINETRY
    • OUTDOOR CABINETRY
  • Photos/Videos
    • Kitchen Cabinetry Projects
    • Accessories & Inserts
    • Kitchen Video Series
  • BLOG
  • TESTIMONIALS
  • CONTACT

spring has sprung: let's get organizing

3/20/2020

Comments

 
Picture
Spring has sprung and you know what that means: SPRING CLEANING TIME! Ok, that doesn't necessarily equate for all of us, but since we have a little "extra" time at home right now, let's take advantage!  This is a great opportunity to really dive deep into your Kitchen purging, organizing and cleaning. We are going to help you out a bit and break down the steps and share some tricks you can use to organize your Kitchen. There are really 3 major steps in properly doing this and this is why it's so daunting. We recommend reading through everything and then starting this at a point that you know you can devote a good few hours on this project and work all the way through until the end!
Depending on how "organized" you typically keep your Kitchen you may be able to bypass some of the suggestions below. For instance, before opening the Cabinet Studio 25 years ago, mom was a top Tupperware manager, so as you can imagine, our Kitchen is pretty organized already, and yet she still finds she's purging every year too. The nice thing is, is that once you take the time to do this really well the first time, it's typically easy to keep up. The problem most people have with this is that we start Spring Cleaning and organizing our Kitchen with the best of intentions but it becomes so overwhelming that we don't continue to a final organized finish, and then we just give up and somehow have more "junk drawers" than when we first began. So, we highly recommend giving yourself the permission and time to work through each step and push through until the end making sure every item has a new "home"! 

Before we get started keep this in mind:
  • Kitchen cleaning does include cleaning your appliances, your sink, your countertops, and the backsplash. These items should all be cleaned together at the same time but as a separate job, either before or after you organize your Kitchen cabinets.  Both are long jobs and if you attempt them together, you will have the tendency to rush through the cabinet organization and this part is vital for you to have a more functional kitchen when you're done. ​​
Picture

sTEP ONE: exploration / inventory check

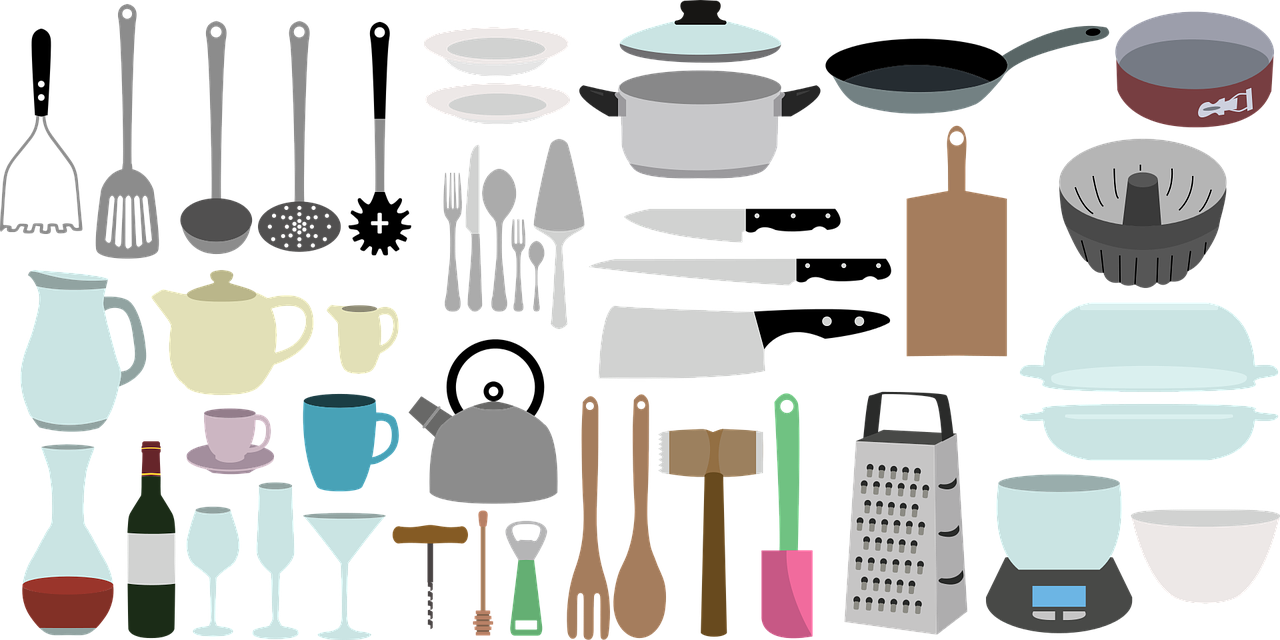
 This step is the most liberating part and the most eye-opening.  We recommend emptying all of your kitchen cabinets into piles of "like" items. You will probably have to use other landing surfaces than just your Kitchen countertops. You may need to move onto the dining room table and possibly bring other tables into close proximity. Tip: If you need more space you can vacuum up the floor and lay sheets down to place items on the floor as well. The goal here is to gather all similar items together into separate piles. i.e. dishes, pots, pans, utencils, cutlery, empty tupperware/rubbermaid, linens, spices, dry goods, tin foil/wax papers, microwave dishes etc.  This is not the time to be doing anything but putting everything in piles. Don't judge, don't purge, don't clean, just get everything out and put together with similar items.  Also, make a pile of items that don't belong in the Kitchen.  Stay focused.  Don't get sidetracked by putting those items away, just put them in a pile to tend to when you are all done the rest of the Kitchen.​
Picture

By removing everything from the cabinetry this will do two things:
  1. you will see EVERYTHING you have in your kitchen, and bring to light items that you have 2 or 3 or even 4 of because you couldn't find them before and just bought another one instead.
  2. it will prepare you for the next step of cleaning out all of your cabinets.
​

step two: deep clean

You want to clean all of your cabinets right after everything is empty that way you can let them dry completely while you are purging and organizing the items that will be put back. 
Picture
​The best way to clean your cabinets inside and out is to use a soft cloth and a pail of warm water with mild soap such as Dawn liquid dish soap. You want to rinse the cloth so it is super damp.  When wiping cabinets that have been glazed, do not clean any tight grooves between moldings aggressively. Gently run a cloth over the grooves and do not insert finger nails, abrasive cloths or any sharp-tipped objects as they may damage the glaze. Excessive cleaning may damage the finish or remove glaze over time. Refrain from using other common household cleaners which may contain oils and waxes that could harm the finishes in your Kitchen. 
You will want to clean the face and back of the doors and all interiors and shelves. Some of the areas you want to pay extra attention to would be around your handles and around your stove. 

Note: if you have shelf liners that you would like to use, put them on after everything has been completely dried. This is not necessary, so if you don't have liners, please don't go out to buy them.  #stayathome

step 3a: pUrge

This will take some real thought and time, but this is the essential part of the whole process that will really make your kitchen function the way you want it to. 

Let's get back to the piles you made. Go through one pile at a time and look at each item and decide what to keep, what to donate and what to store somewhere else in the house. Make an area (or a box) designated for donations and another for things to be recycled. 
​

Questions to ask yourself:
  • ​Are there broken items that you (or someone else) can't fix or re-purpose? These will be the only items that you will recycle or throw away. 
    • Note: If someone else is able to fix it or re-purpose it: donate it.
  • Have you used this item in the last year? If the answer is no, please donate it to a friend or charity that will! ​​
Picture
  • For duplicate items: Do I need to have more than one of these?
    • If you have more than one and you don't need it: donate it. 
    • If you have more than one but you will use it in the future (i.e. extra paper towels or canned goods): store it in a pantry, closet, or garage that you designate as the "overflow" area. 

STEP 3B: organize

You want to play around with the space you have and decide where it makes most sense to put each item. Sure you may have "always" put your cups and glasses in the same cabinet, but is that really the best cabinet for them?  Be open to switching things up for better flow and function! 
​
Two things to keep in mind when choosing where to place your items.

  1. ​​Where do I typically use this item as soon as I take it out of the cabinet? For example: your pots are used at the stove BUT you first fill them up at the sink. So, keeping them in a cabinet closer to the sink is a great idea.
  2. Where am I just before I put the item away? For example: your plates and bowls are typically washed in the dishwasher before putting them back in the cabinet, so storing them in a cabinet that is easy accessed from the dishwasher is a great idea.​
Tip: You could also use post-it notes if you want at the beginning of this process to label where you will put all of your "piles" away.  What this will do is give you a layout of where everything will belong but if you find you need to switch up cabinets half way through, it's just a matter of moving the post-it rather than all of the contents. 

​Once you know exactly where you want each item. Now it's time to put them away. 
  • ​Clean/ dust all your items before putting them away with either a dry towel or a hot damp rag. Tip: If you notice your stemware and glasses have lost their sparkle doing a quick load in the dishwasher could quickly fix that.
  • When placing items back into your cabinets put the "most used" items in the front of the cabinet for easy access and place the items that are less-frequently used toward the back. 
  • Stacking bowls on top of small plates on top of large plates is a "nice idea" to save on space, but if you have the room it's a better idea to separate these items from each other. Every night at dinner you use the large plates, so now you have to move the bowls and small plates off first and that's an extra unnecessary step as well as an easy way of becoming less organized down the road. 
Picture

FAq: spices, hOW LONG DO THEY LAST?

Generally speaking, dried seasonings, herbs and spices in jars last about 1-2 years. But there are exceptions worth noting.  Here’s a rough guideline on the life of those seasonings in your kitchen:
• Indefinite: Vanilla extract, salt, and that's about it. (Other extracts will fade in 2-3 years).
• Whole spices (unground, such as peppercorns, whole allspice, caraway seeds, and more): 3-4 years
• Ground spices (such as cumin, ginger, paprika and chili powder): 2-4 years
• Ground and whole leafy herbs such as basil, oregano, rosemary and most seasoning blends: 1-3 years
All of us have a few jars that have been sitting in the pantry for over a decade. It’s okay to let these spices go.
Tip: Use a permanent marker to put the date on the bottom of the bottle of when you opened it
McCormick has a great site filled with information about how to revive the life of your spices and more tips about organizing and storing them. Click here.
​
We hope this has helped motivate you to kickstart your spring cleaning in your Kitchen.  ​We would love to see your progress. You can email us or hop on over to our social pages and share your new and improved space!  Also, if you have any tips and tricks that work for you, please share them with us too! 
​
Until next time, make it a happy and healthy day! ​
Picture
Comments

    CATEGORIES

    All
    CAMBRIA QUARTZ
    KITCHEN INDUSTRY
    KITCHENS
    OUR COMMUNITY
    OUTDOOR KITCHENS
    WELLNESS DESIGN

    RSS Feed

Picture
ECO-LUXE KITCHENS    
​INDOOR | OUTDOOR | COMMERCIAL
Kitchens Designed in Canada,  Loved Across The World
Stay Connected:

Kitchen Inspiration Right To Your Inbox: (Subscribe Here)

© 2022 The Cabinet Studio (Canada) Inc. All Rights Reserved
  • About
    • YOUR DESIGNERS
    • CAMBRIA DESIGNS
    • FAQ
    • CROHN'S & COLITIS CANADA 2023
  • ECO-LUXE KITCHENS
    • WOOD CABINETRY
    • METAL CABINETRY
    • OUTDOOR CABINETRY
  • Photos/Videos
    • Kitchen Cabinetry Projects
    • Accessories & Inserts
    • Kitchen Video Series
  • BLOG
  • TESTIMONIALS
  • CONTACT